
Not everyone is an audiophile, into the latest and greatest amplifiers and Hi-Fi’s, or a Sound Engineer with the know-how of the properties of noise, or even a techie nerd into all things gadgety. And that’s OK. I am all of the above and I’m here to (try and) help you!
If you’re reading this, I’m assuming you’re wanting to record some audio on your phone, and get decent results. But, you’re not sure where to begin…
Well, most phones have some sort of recording app already, but it’s probably quite limited in functionality, and quality – and for the purposes of your recording, we want the best audio that is possible! No point in making a recording that has incomprehensible, unusable sound, right? Right!
Recommended Apps
I’m not going to list every single app out there, because there are literally thousands! Instead, I’m going to point you to what I think are the best free apps for both iOS and Android, and give you a rundown of their functions.
Android
The straightforward Samsung Voice Recorder is a great option, and is one of the most user-friendly recording apps on the Google Play store.
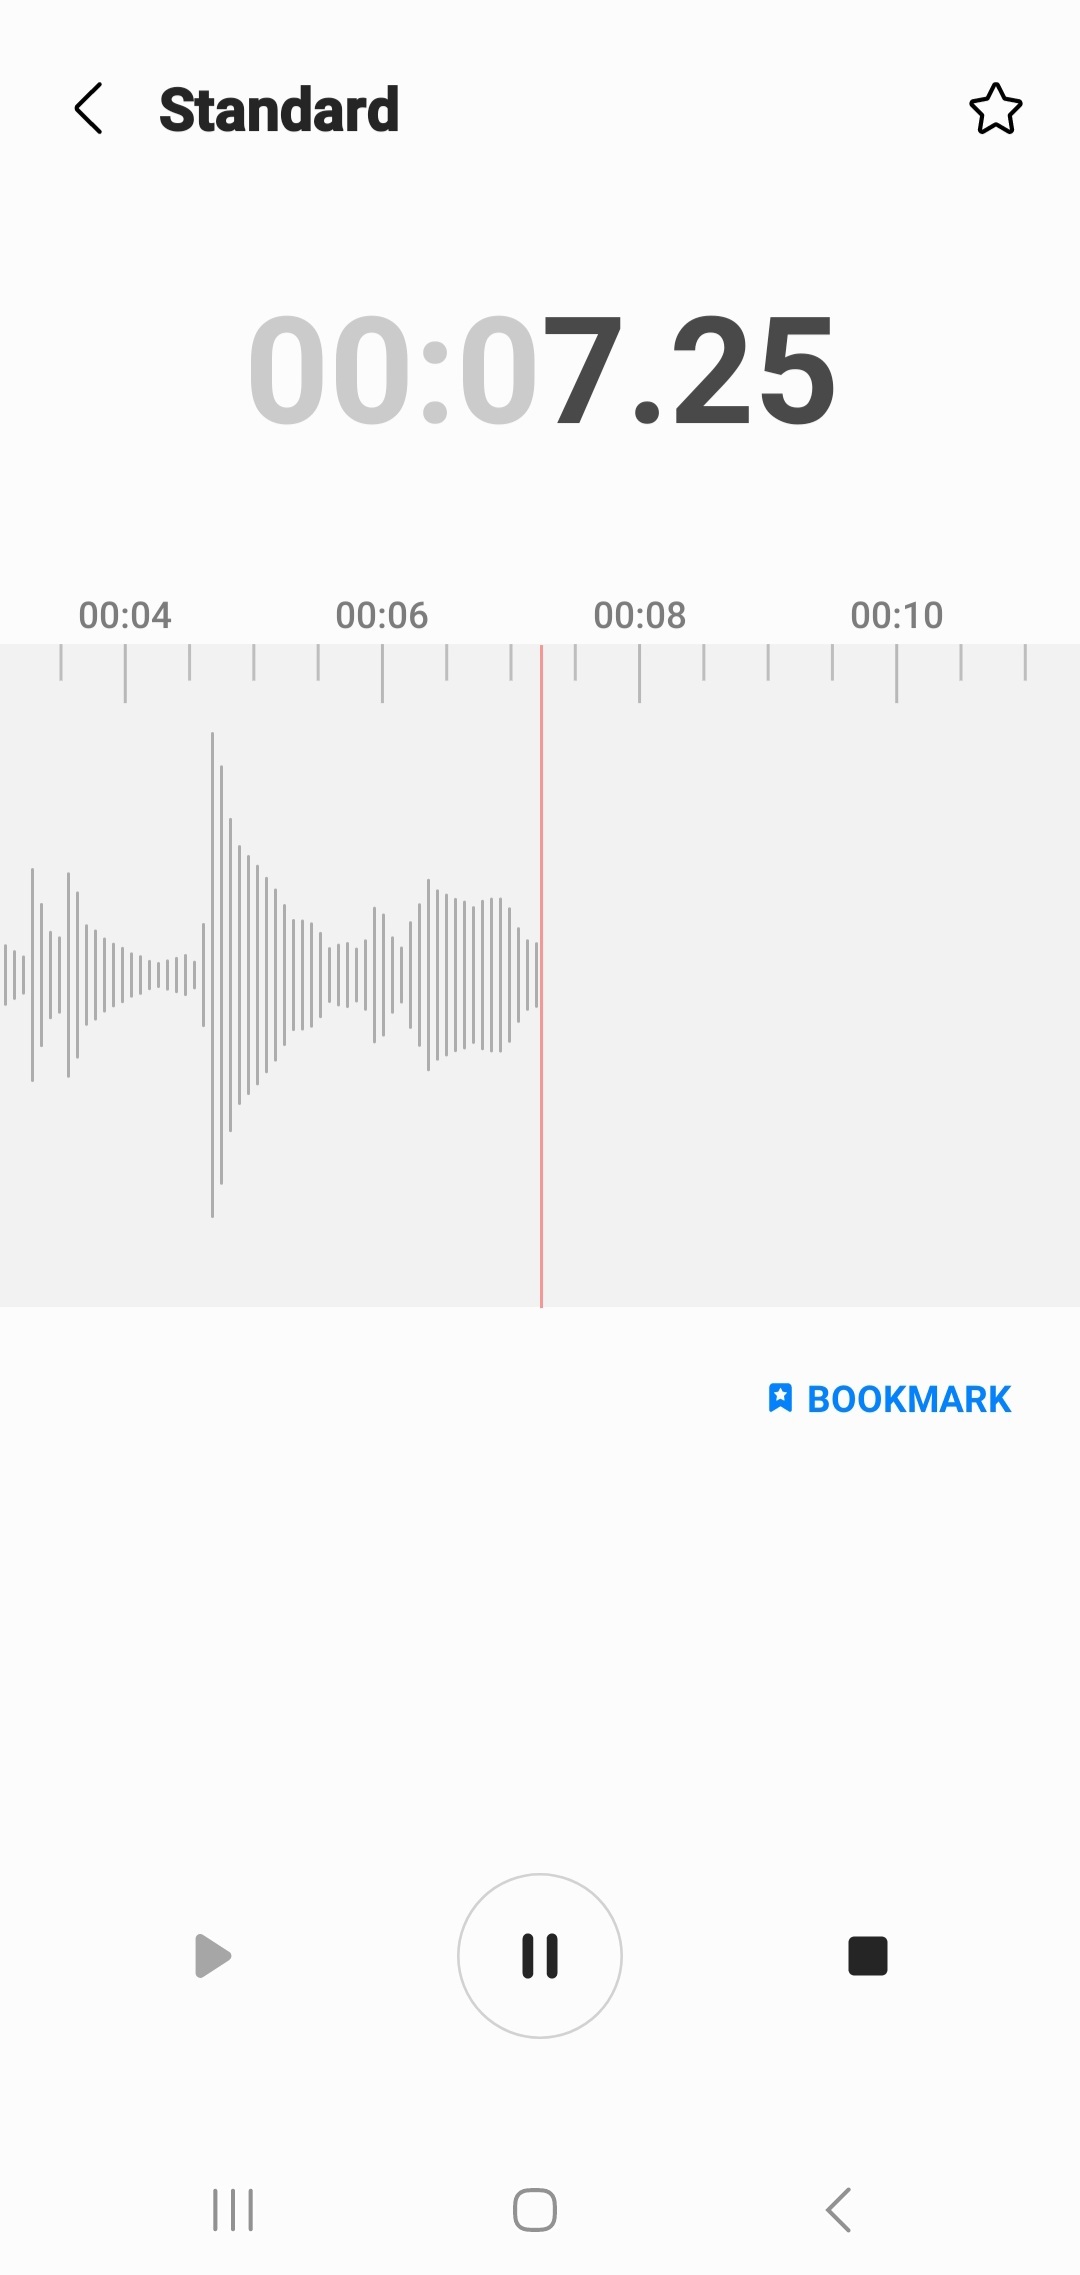
It has a nice simple interface (good for technophobes!). On the main screen are Record and Play buttons.
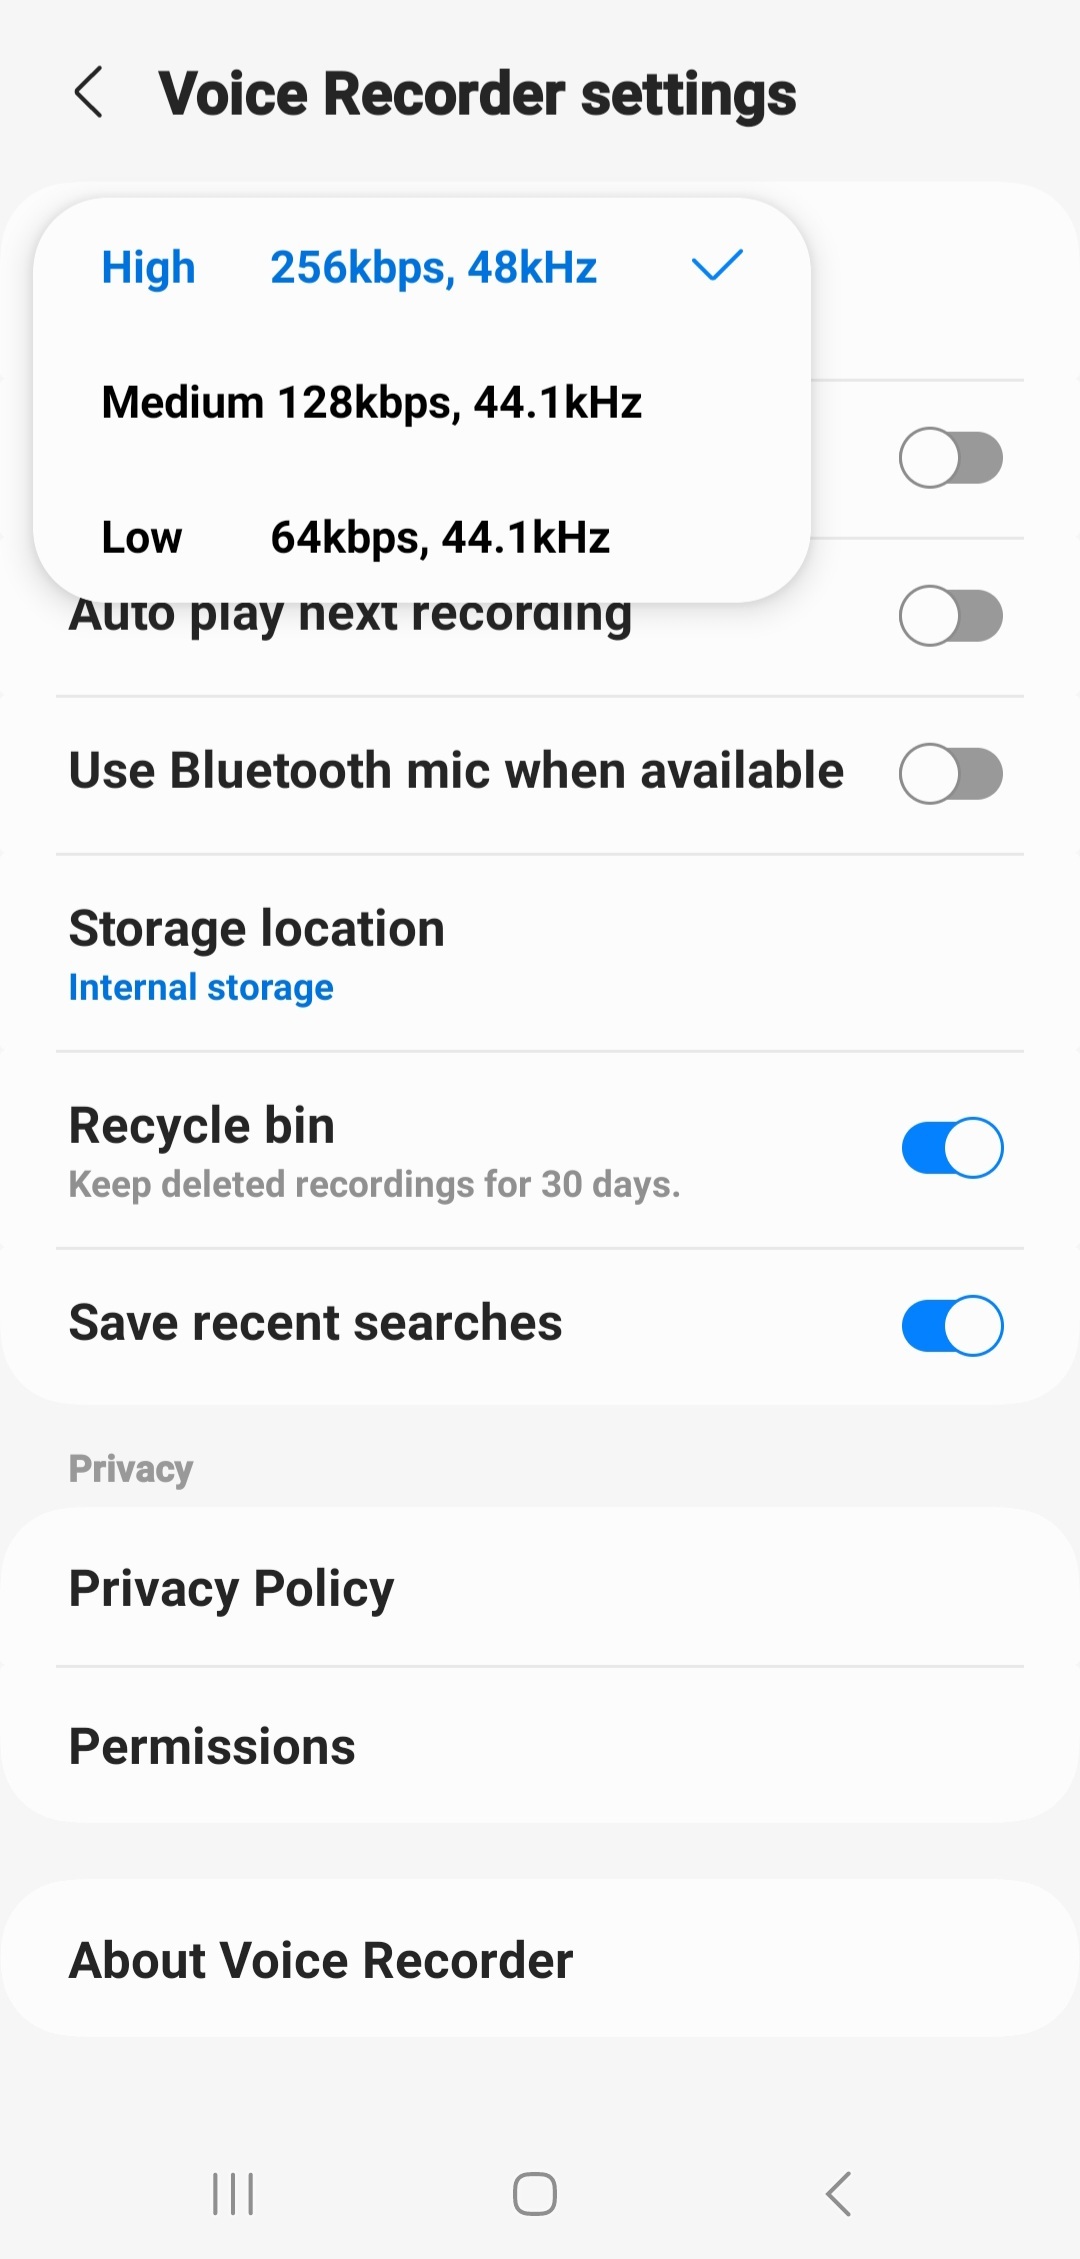
In the Settings menu, you can pick the audio format: The default is MP3, which is fine for us. You can also set the recording quality. Choose ‘High’. We want the best, remember? You can also select where you want to save the audio files. If you’re not sure, just leave this as is.
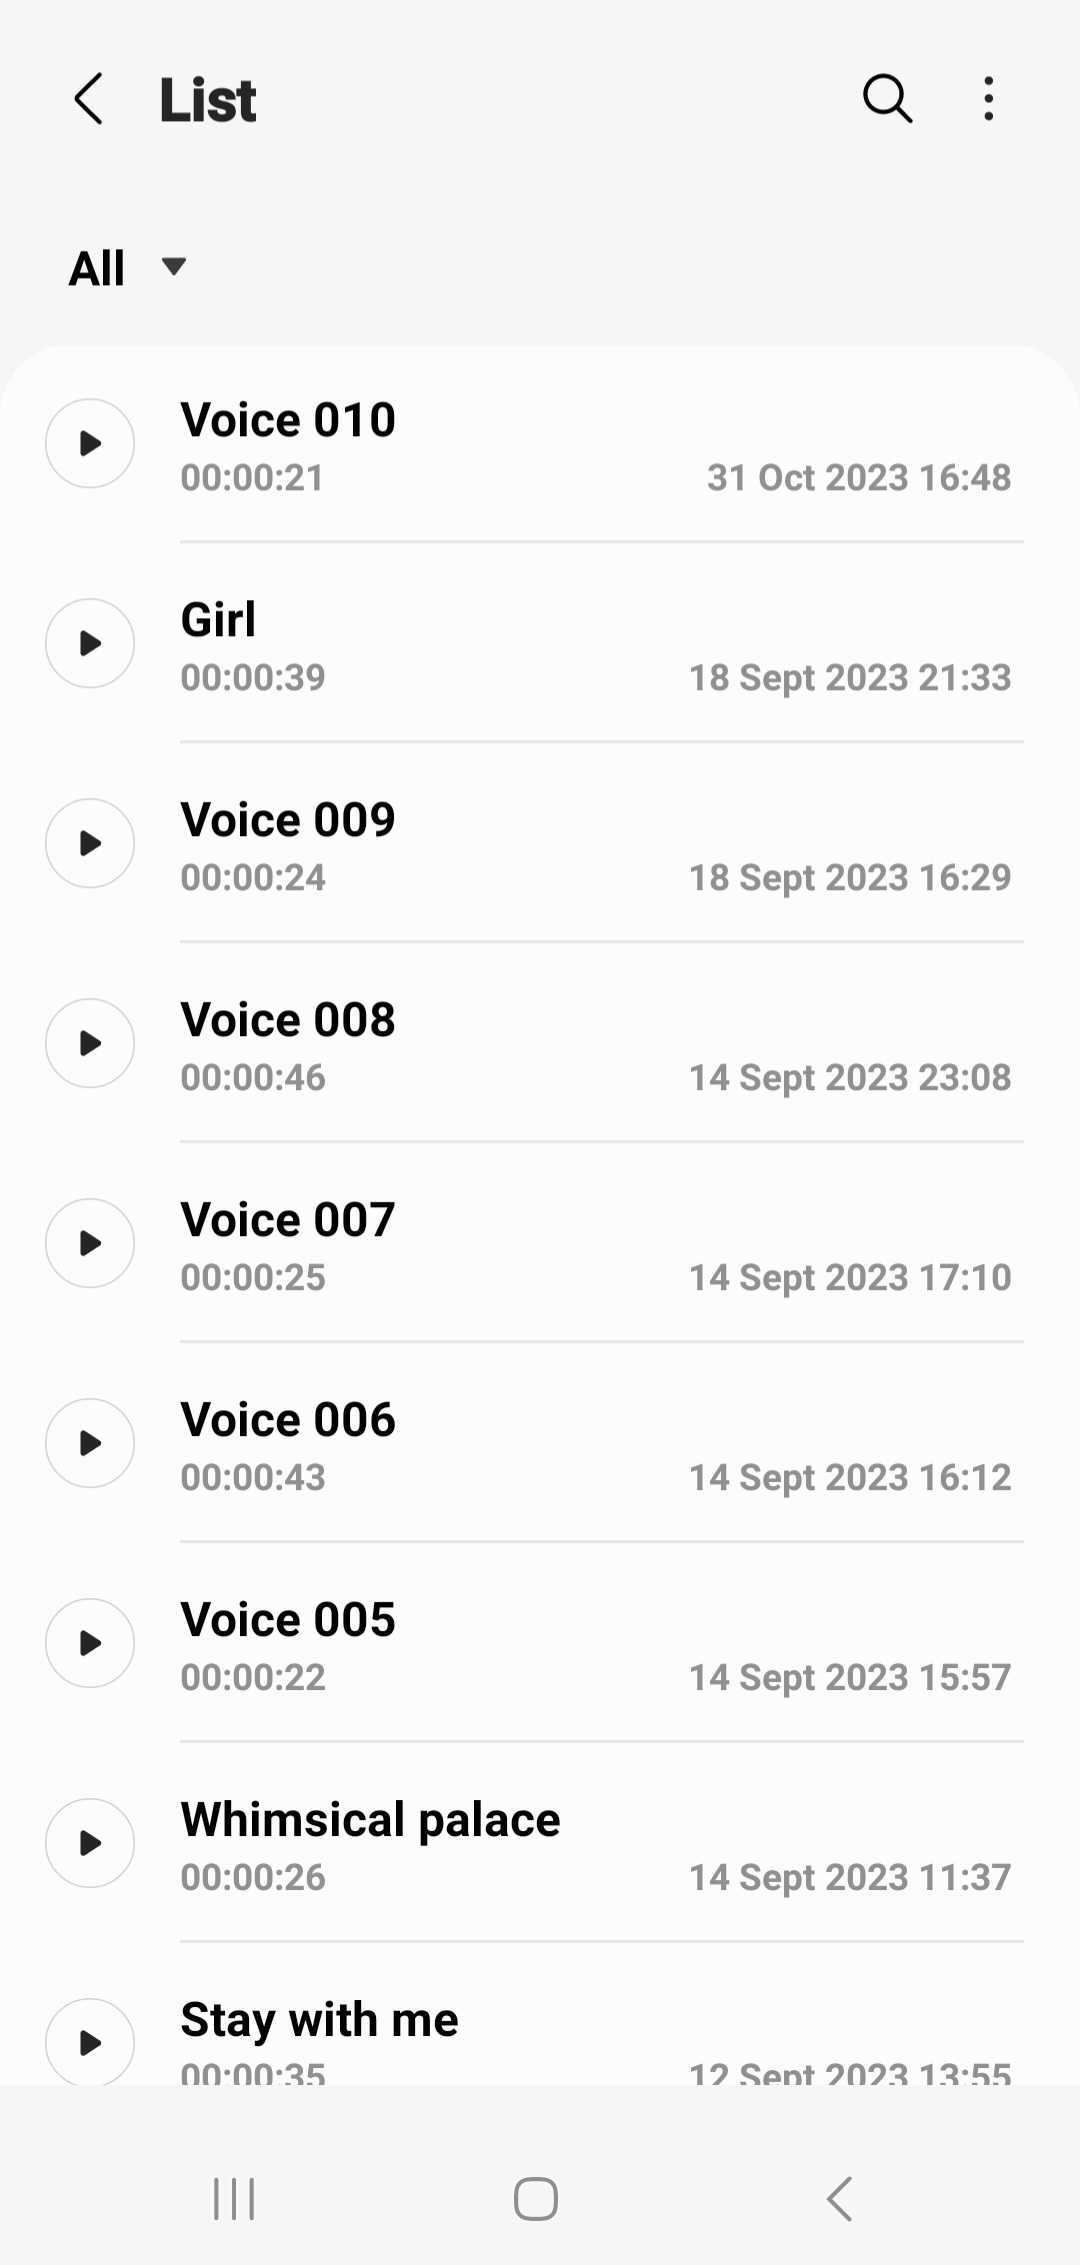
Once you’ve recorded a take, you can rename the audio file. This is very useful for keeping track of what you’ve recorded, and makes it easier to identify the files.
Finally, tap on the audio track to easily share it. Tapping this gives you various options to send the audio file to whomever, wherever. Handy!
iPhone
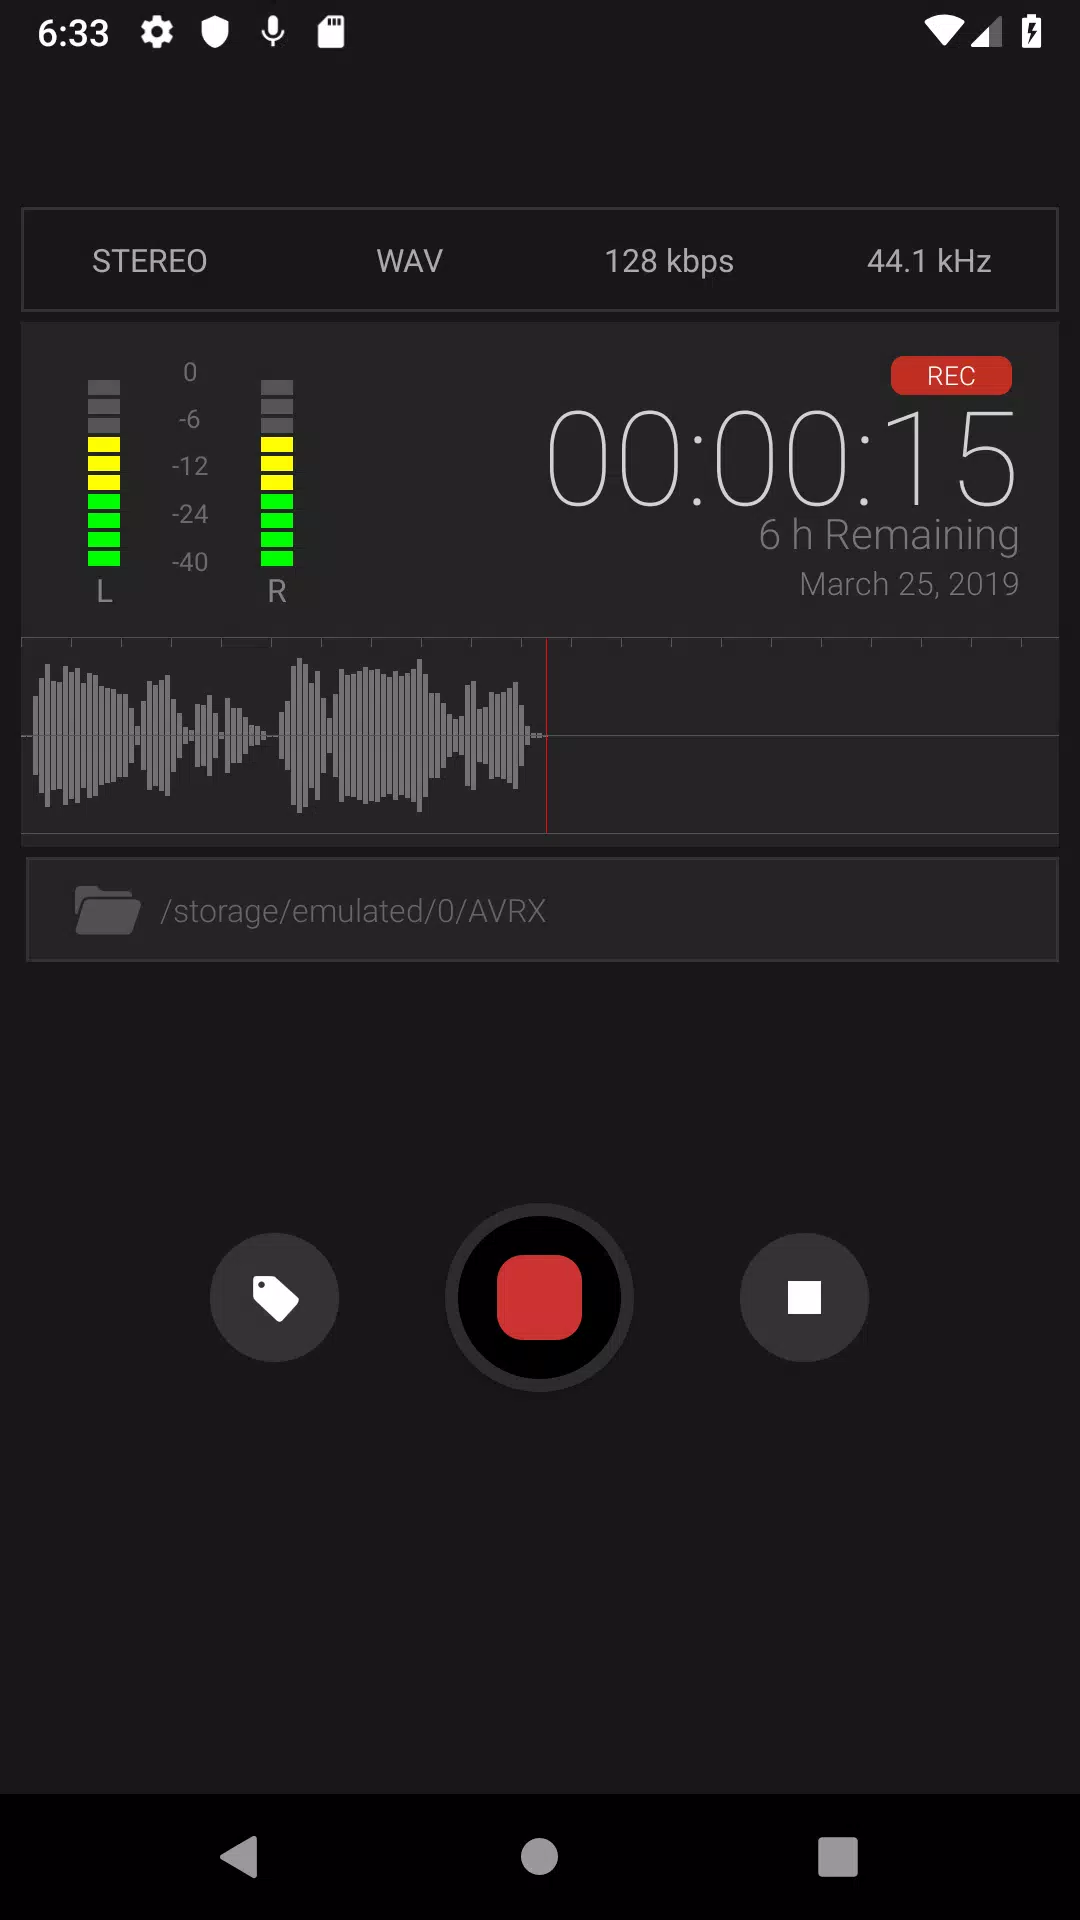
The inspiringly named Awesome Voice Recorder is my choice for iPhone users.
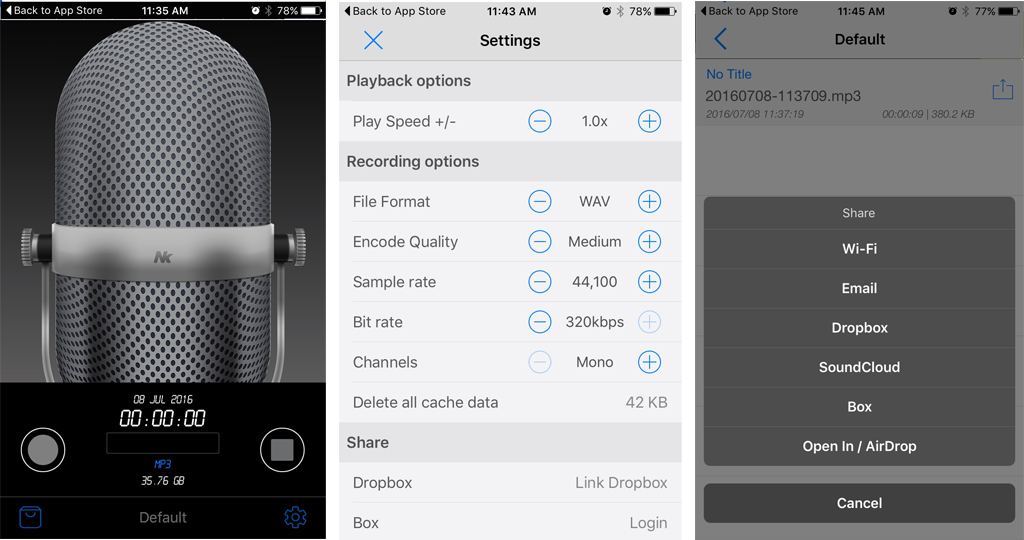
This app is a bit sexier than Android’s Voice Recorder, but is very similar with a simple interface. The main screen has Record and Stop buttons, with a waveform display showing what the sound file looks like as you record. There’s no input meter, but if the waveform looks like a solid bar, then you’re way too loud! See example below:
You can also choose the save folder on the main screen for the audio file.
In the Settings menu, you can choose between MP3, WAV, and M4A as the audio file format.
MP3 is OK, just set the quality to ‘High’, Sample Rate to ‘44,100’, and Bit Rate to ‘320kbps’.
WAV is ideal, with settings of ‘Medium’, ‘44100’, and ‘320kbps’. M4A is Apple’s own audio codec, and because it isn’t supported by all media players, I recommend using either MP3 or WAV.
If you need to keep the size of the file to a minimum, you can select ‘Mono’ in the Channel setting. Otherwise, the default ‘Stereo’ will work fine.
In the Folders menu, you can locate your recorded audio (the default location is ‘Default’), rename the audio file, and share the files via email, an MMS, or any FTP service you have installed.
How to Record
What comes next, after you’ve installed your recording app? Is there’s more to it than just pressing ‘record’? Yes! Of course there is!
We want to capture your beautiful voice, and just your beautiful voice when you record. Ambient sounds and background noise aren’t desirable. Imagine listening to an audiobook, and being drawn in by the narrator’s dulcet tones, when there’s a sudden BANG!, or a cat yowling, or a humming air-conditioner. If you’d done a good job of immersing your listener so far, these noises from your environment would distract them, and you’d have to earn their attention all over again.
To get the best possible recording:
- Pick the right room: a small room with plenty of soft furnishings is ideal. Small rooms don’t echo or cause much reverberation of sound. Soft furnishings, like pillows, cushions, sofas, curtains and carpets absorb sound waves, reducing echo and reverberation.
- Close all windows and doors! Sound travels, and goes through openings – so close those openings, please.
- Pillow-forts and blanket-forts are fun, and they work well as basic sound isolation booths.
- If *you* can hear it, your phone will record it. I know, I know, it can be stressful recording yourself already, and you’d like to avoid re-dos, but the car that drove by with the hole in its exhaust… it just made an appearance in your recording! All you can do, is smile, breath deeply, and start over. 😛
- Put the phone into Airplane Mode! No distractions! None! Record Time is Your Time!
How to Speak
You’ve been talking since you were a wee baby, so what’s there to learn now? Well, not too much, thankfully:
- When you record, don’t speak too close to the phone’s mic. Keep a distance of about 20cm (8 inches) between your mouth and the mic, and don’t talk straight at the mic. Talk over or across it instead.
- By not being too close and not talking directly at the mic, you’ll avoid recording mouth and breath sounds, like BAH, PAH, WHOO, and SSSS. These can be tricky to fix later when editing. (Top Tip: Put a sock in it! Or rather, over it. A nice woolly sock placed over the mic of the phone can act as a pop-shield, helping to reduce mouth sounds!).
- Don’t hold the phone when recording, rather place it on a stable flat surface. Moving phones = moving mics = bad!
- Talk like you’re explaining stuff to your best friend!
- Pause between lines. Thingsarehardtounderstandwhenitsallnonstop,knowhatImean?
- If you make a mistake, stop. And start again from the beginning of that line.
- A warm drink (dairy-free) helps to relax the vocal chords, so you’re less likely to make squeaking noises, and suffer from a parched mouth from talking.
- Breathe
Once you’ve recorded, listen to the result. Hearing your own voice can be weird, but you are the first gate-keeper of quality control! Getting it right at the source with a good recording is 90% of the work. You’ll spend much less time editing and trying to fix the audio than you would if you’d done a crummy recording job!
Good luck!
“Go get’em, Tiger!” – anon
The article states that mp3 is ok but that wav is ideal for format. When uploading a .wav file, I received an error message that mp3 is the only format allowed. Perhaps the article should be updated to reflect we should use .mp3?